这篇也收在 aaronlau.me:都 9102 年了,该上 HTTPS 了
Nginx 学习笔记 (3) - Let's Encrypt 证书申请和续期
这篇文章写于 2019 年,距今 7 年。文中的做法和默认值可能已经变化,动手前请对照官方文档。
Part C. 以 Let's Encrypt 为例,安装证书
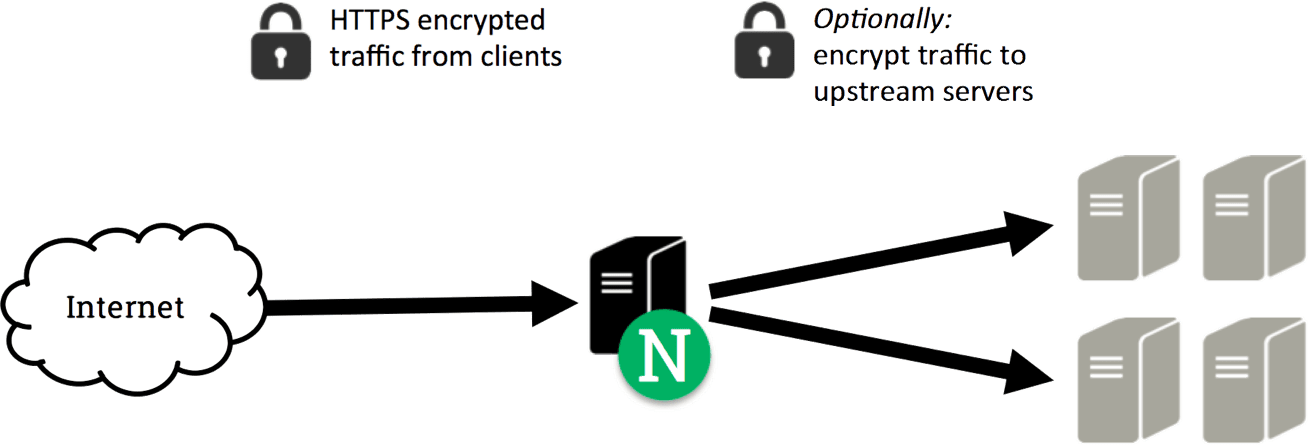
倘源站只支持 HTTP,也许做到 Part B 就够了。但都 9102 年,还不支持 HTTPS 的网站很少了。稍有 CDN 使用经验的都知道,即使后端不支持 HTTPS,经过反代服务器的中转,也能实现 HTTPS 加密访问,避免连接被重置。
启用 EPEL 源。官方源因版权顾虑,移除了有争议的软件包,更新策略也比较保守。而 Extra Packages for Enterprise Linux 的尺度更宽一些,算是个有益补充;
yum install https://dl.fedoraproject.org/pub/epel/epel-release-latest-7.noarch.rpm
安装并配置 Certbot,应指定 Nginx 的安装目录;
yum install certbot python2-certbot-nginx certbot --nginx --nginx-server-root=/usr/local/nginx/conf
Certbot 拥有傻瓜式的交互,视情况操作即可;
键入电子邮件地址 → 接受条款和条件 → 自由参加 EFF 的邮件订阅 → 选取要申请 Let's Encrypt 证书的主机名 → HTTP 重定向至 HTTPS 还是并存
创建一个 cron 定时任务 (计划任务),以实现自动续期;
echo "0 0,12 * * * root python -c 'import random; import time; time.sleep(random.random() * 3600)' && certbot renew" | sudo tee -a /etc/crontab > /dev/null
完事了。就这么简单。来看看 Certbot 都动了哪些配置:
server { ... listen 443 ssl; # managed by Certbot ssl_certificate /etc/letsencrypt/live/yourdomain.com/fullchain.pem; # managed by Certbot ssl_certificate_key /etc/letsencrypt/live/yourdomain.com/privkey.pem; # managed by Certbot include /etc/letsencrypt/options-ssl-nginx.conf; # managed by Certbot ssl_dhparam /etc/letsencrypt/ssl-dhparams.pem; # managed by Certbot ... }
server { ... if ($host = yourdomain.com) { return 301 https://$host$request_uri; } # managed by Certbot return 404; # managed by Certbot ... }
再来看 options-ssl-nginx.conf。
# This file contains important security parameters. If you modify this file
# manually, Certbot will be unable to automatically provide future security
# updates. Instead, Certbot will print and log an error message with a path to
# the up-to-date file that you will need to refer to when manually updating
# this file.

ssl_session_cache shared:le_nginx_SSL:10m;
ssl_session_timeout 1440m;

ssl_protocols TLSv1.2 TLSv1.3;
ssl_prefer_server_ciphers off;

ssl_ciphers "ECDHE-ECDSA-AES128-GCM-SHA256:ECDHE-RSA-AES128-GCM-SHA256:ECDHE-ECDSA-AES256-GCM-SHA384:ECDHE-RSA-AES256-GCM-SHA384:ECDHE-ECDSA-CHACHA20-POLY1305:ECDHE-RSA-CHACHA20-POLY1305:DHE-RSA-AES128-GCM-SHA256:DHE-RSA-AES256-GCM-SHA384";
如需开启 HTTP/2、TLS 1.3 和 HSTS,请移步至此。
Aaron Lau这里的文章写于 2010 年代。现在每天的文字在 aaronlau.me,手上在做的是 AI System 6。

这篇在 aaronlau.me 也有存档版本。去那边读
评论